Alright, let's talk stucco. You're looking at your place, maybe it's an older Spanish-style house in the Valley Village area, or a newer build, and you're thinking about a fresh coat, or maybe even a whole new stucco system. It's a big project, no doubt, but understanding the steps can save you a lot of headaches and money.
Before You Start: Planning & Permits
First off, don't just jump in. This isn't painting a bedroom. Stucco is a protective layer for your home. It needs to be done right. The very first thing you need to figure out is what kind of stucco system you have, or what you want to put on. Are we talking traditional three-coat stucco, or a synthetic (EIFS) system? Each has its own requirements, pros, and cons.
Next, permits. Yeah, I know, everyone hates permits. But for stucco, especially if you're changing the exterior wall assembly or doing a significant repair, you'll likely need one from the City of Los Angeles Department of Building and Safety. Don't skip this. It protects you, makes sure the work meets code, and avoids fines down the road. A good contractor will handle this for you, but if you're DIYing, it's on you.
What can you do yourself at this stage? Research. Learn about the different types of stucco. Look at photos. Think about colors and textures. Get a clear idea of your vision. You can also start clearing the area around your house – move plants, outdoor furniture, anything that's going to be in the way.
During the Project: The Nitty-Gritty
This is where things get serious. For traditional stucco, you're looking at multiple layers. It's not a one-and-done deal.
- Surface Prep: This is critical. If you're going over existing stucco, it needs to be clean, sound, and sometimes scarified for good adhesion. If you're going down to the sheathing, you'll need to install a weather-resistive barrier (WRB), like building paper or a synthetic wrap. This is your home's rain gear, and it's non-negotiable. Then comes the lath – usually metal mesh – which gives the stucco something to grab onto. This part needs to be installed perfectly flat and securely.
- Scratch Coat: This is the first layer of mortar. It's pushed into the lath, creating a rough surface. It's called a scratch coat because, well, you scratch it to give the next layer something to bond to.
- Brown Coat: Applied after the scratch coat cures (usually 24-48 hours, sometimes longer depending on the weather here in North Hollywood), this layer builds up the thickness and gets the surface flatter. This is where you really start to see the shape of the wall.
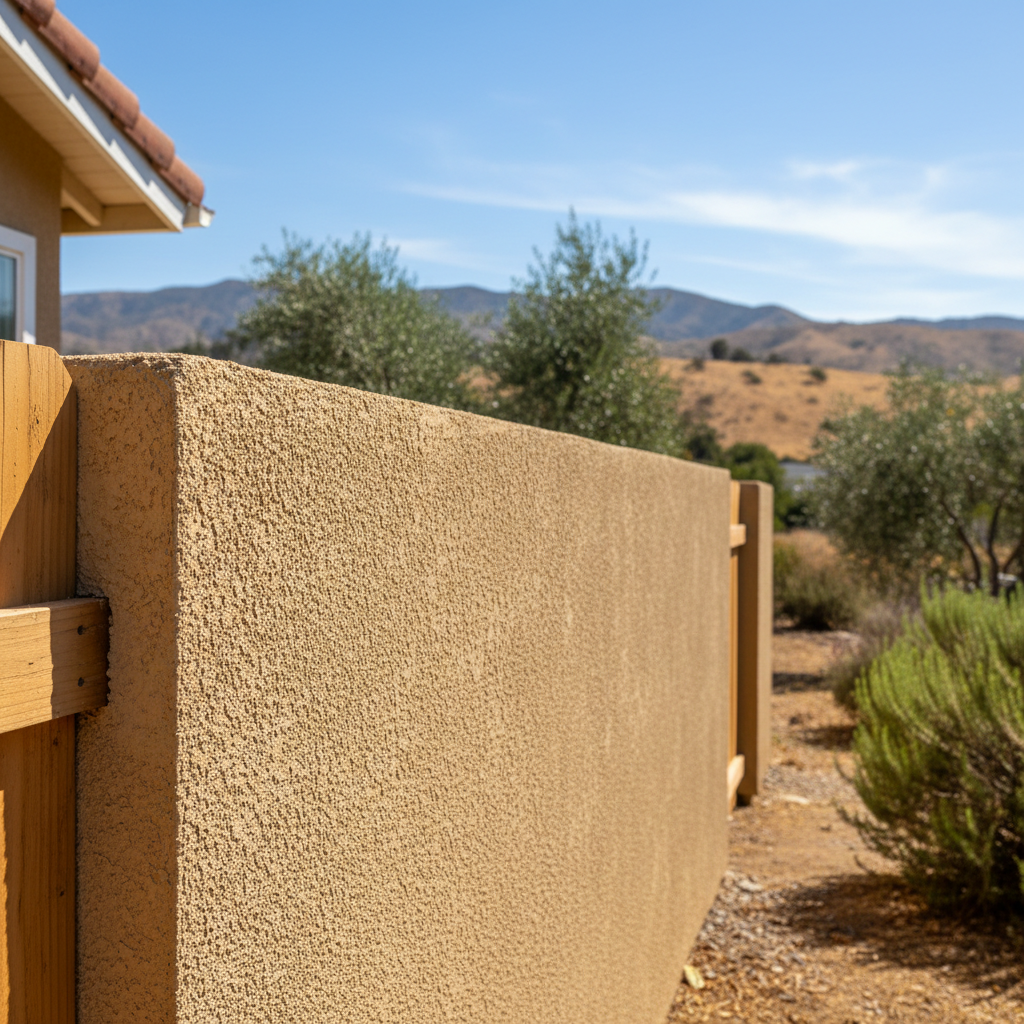
- Finish Coat: This is the final layer, the one you see. It's thinner, and this is where the color and texture come in. There are tons of options – smooth, sand float, dash, worm finish. This is where the artistry happens.
Now, what can a homeowner realistically do here? Honestly, not much of the actual application, unless you have some serious experience. Stucco work is physically demanding, requires specific tools (trowels, hawks, mixers), and a good eye for consistency and flatness. Getting the mix right, applying it evenly, and achieving a uniform finish takes practice. You can mess up your entire wall if you don't know what you're doing. I've seen plenty of DIY stucco jobs that end up costing more to fix than if they'd just hired a pro from the start.
Where you *can* help is with the demolition if you're removing old stucco. Be careful though, lead paint and asbestos can be present in older homes. You can also handle the clean-up, moving materials, keeping the site tidy. That saves time and money for the pros.
For Synergy Stucco North Hollywood, our crews are trained to handle every step, from proper WRB installation to the perfect finish coat. We know how the dry, hot North Hollywood summers affect cure times and how to adjust our mixes accordingly.
After the Stucco is On: Curing & Maintenance
Once the finish coat is on, the work isn't quite done. Stucco needs to cure properly. This means keeping it moist, especially in our dry climate. You'll often see new stucco being misted with water for several days. This prevents it from drying out too quickly and cracking. Don't skip this step! It's vital for strength and durability.
After it's fully cured, which can take weeks, your stucco is pretty low maintenance. Keep an eye out for cracks. Small hairline cracks are normal as the house settles and expands/contracts with temperature changes. Larger cracks, especially around windows or doors, or cracks that are growing, could indicate a bigger issue like foundation movement or water intrusion. Don't ignore those.
Cleaning is usually just a gentle wash with a hose and a soft brush, maybe some mild detergent for stubborn spots. Avoid high-pressure washers unless you know what you're doing, as they can damage the surface.
So, there you have it. Stucco is a fantastic, durable finish for your home, but it's a specialty trade for a reason. Do your homework, know your limits, and don't be afraid to call in the experts when you need them. It's an investment that pays off when done right.